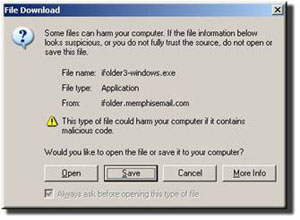
1. Download the iFolder client by clicking on the following link and choosing Save. “Windows iFolder client” Be sure to make a note of where you have saved your setup file.
2. Once the file is downloaded, you will have the option to open the file. Click on “Open” at this time.
3. This will begin the iFolder client install.
4. Once the installation has started, you will be asked to select your language preference.
5. Click on the pull down box and select your language.
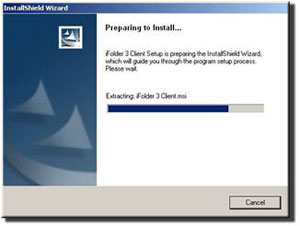
6. An install screen will now launch
7. You may be prompted to install the Microsoft .NET Framework. (This is a required component that will automatically download from Microsoft if it is needed.)
8. If you are not prompted for the install, please skip to step #13.
9. If you are, click “Yes” to the .NET installation.
10. Read and Agree to the .NET Framework license agreement.
11. Wait for the .NET Install to finish and then click on “Ok”.
12. You may be prompted to reboot at this time. If you are, please do so at this time.
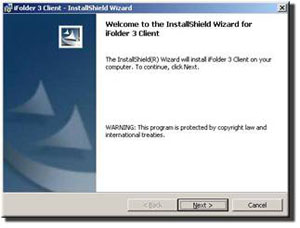
13. Now the installation wizard will prompt you to install iFolder.
14. Click “Next”
15. Enter in your information as shown in the example picture below.
Note: Windows may auto fill your previous registration information into the Customer Info fields. This information should reflect you, the user.
16. In the next window, change your destination folder if needed, and click on “Next”.
17. The wizard is now ready to complete the install, click on “Install” to continue.
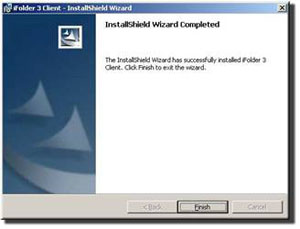
18. Once the wizard is done, click on “Finish” to complete the installation process.
19. At this time you may be asked to reboot your computer. Please click yes.
20. This completes the iFolder client installation.


 15. Enter in your information as shown in the example picture below.